
Looking to create a watermark to apply onto your photos and videos? Look no further than this step-by-step guide on how to create, customize and apply your watermark using our online tool Watermark.ws.
Begin at www.watermark.ws
Begin by editing one of your imported files on your Watermark.ws account. If you’re unfamiliar with our site, head over to Watermark.ws to create an account or just take a peak at our guide to Getting Started with Watermarking.
Once inside the editor, click on the Text tool on the bottom toolbar to begin creating a new watermark.
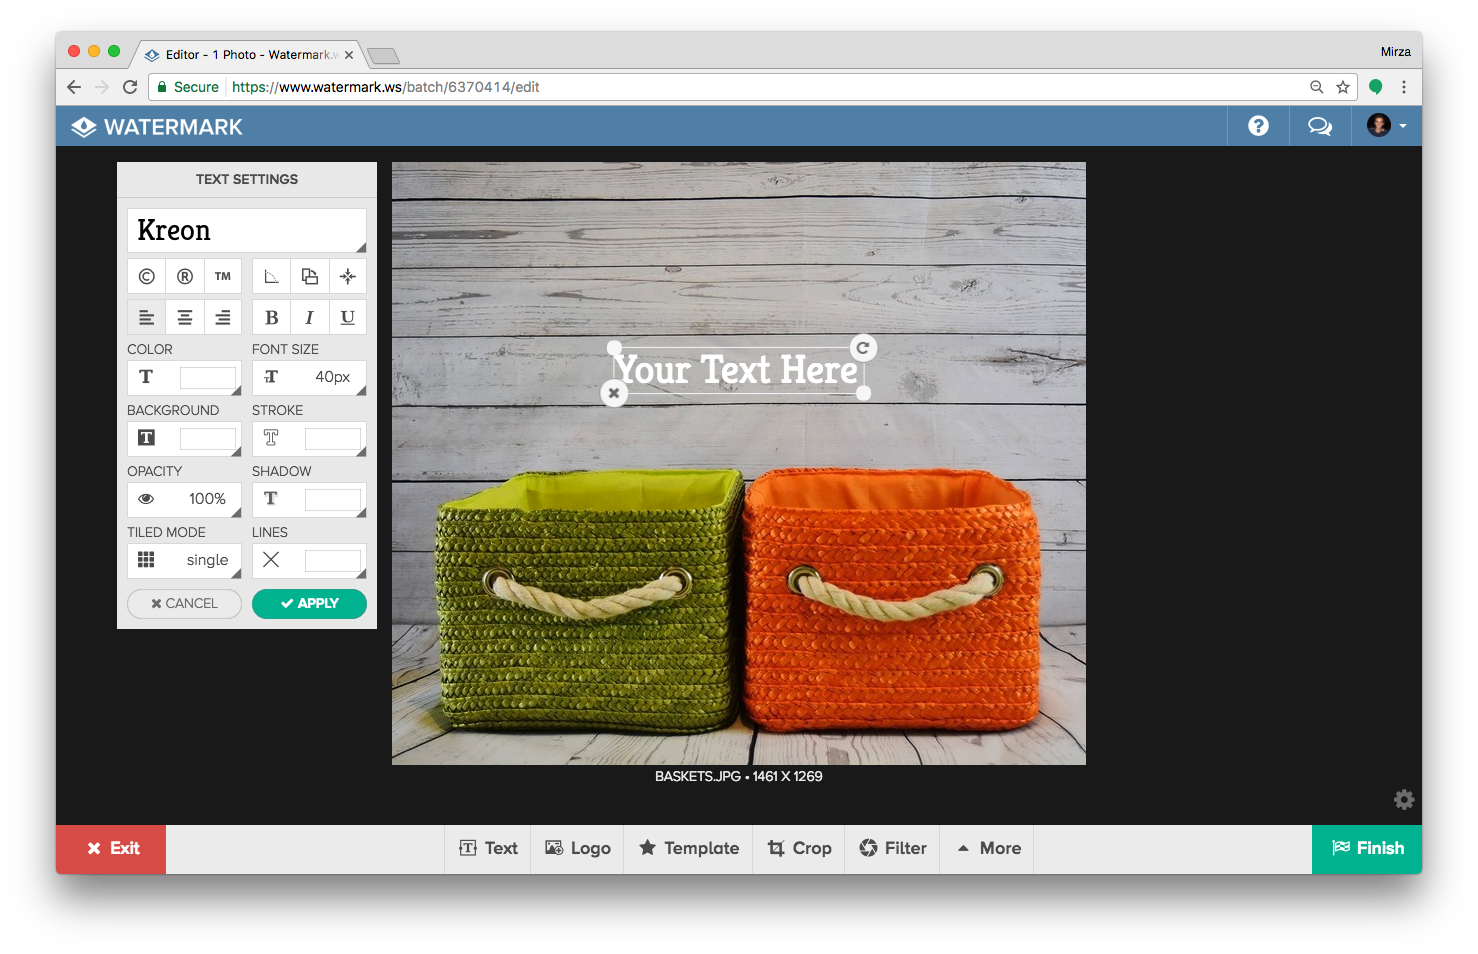
1) Input your text
Firstly, input the text that you want your watermark to contain. Hit the return key on your keyboard to input more than one line of text and use our symbol buttons to insert a copyright symbol, available for your convenience.

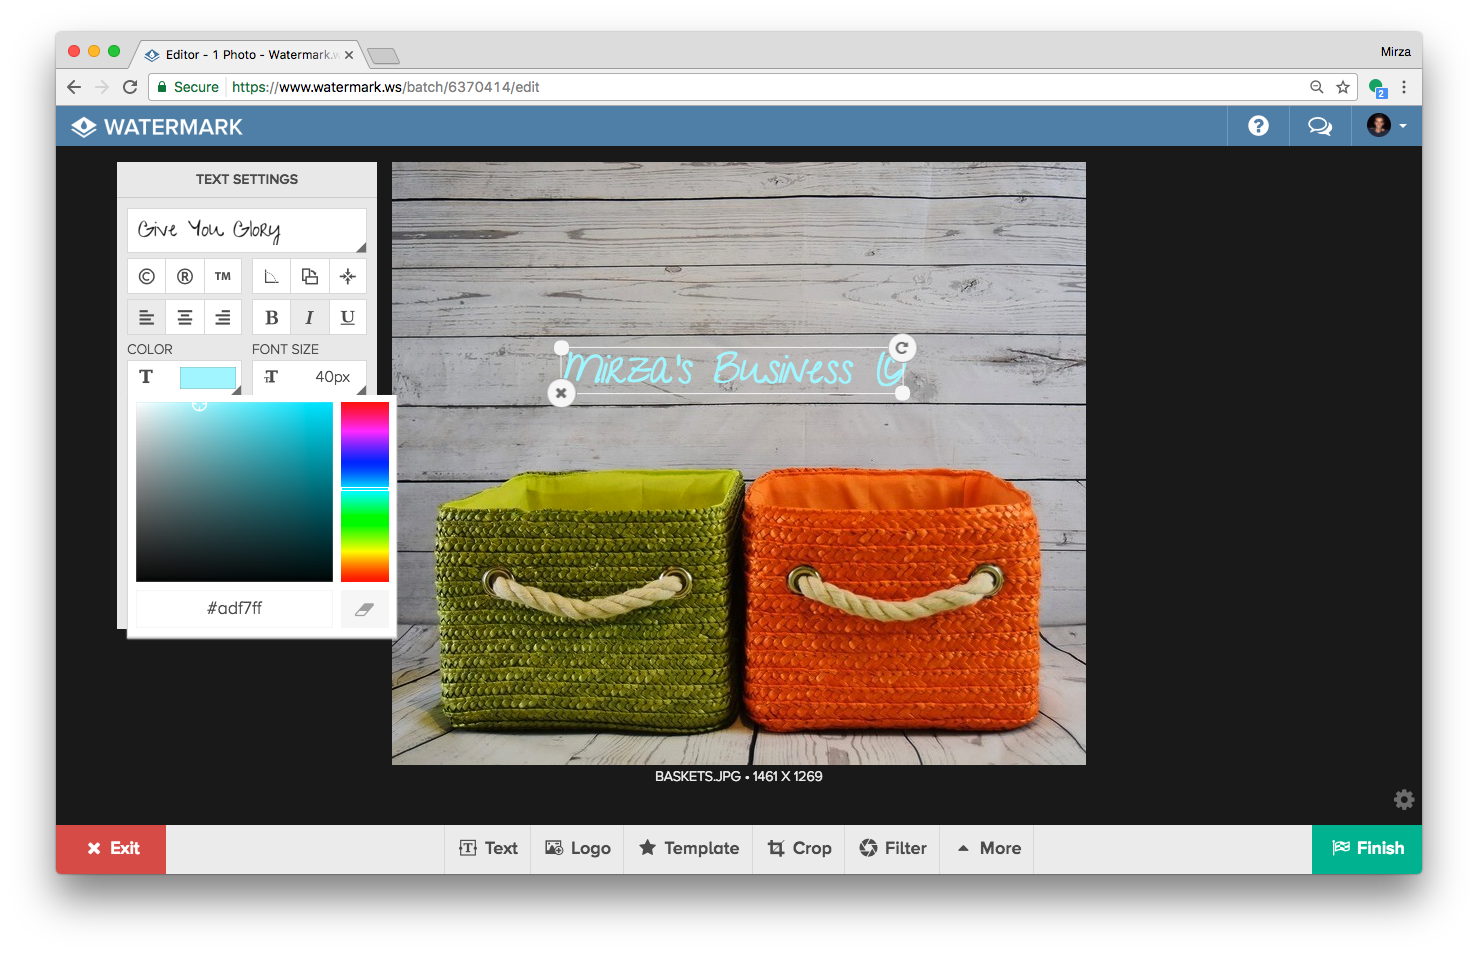
2) Choose a font
Next, choose a font that represents the look you’d like to achieve. Choose from over 300 serif, sans-serif and handwritten fonts. If you can’t find one you like, you can easily import a font from your computer. Use the font style buttons to make your text bold, italic or underlined.

Pro tip: With the font selection open, use the up/down arrow keys to quickly preview each font.
3) Style with color, a background, stroke or text shadow
With your text inputted and font selected, begin to decorate your watermark by changing it’s color, adding a background, stroke, or text shadow.


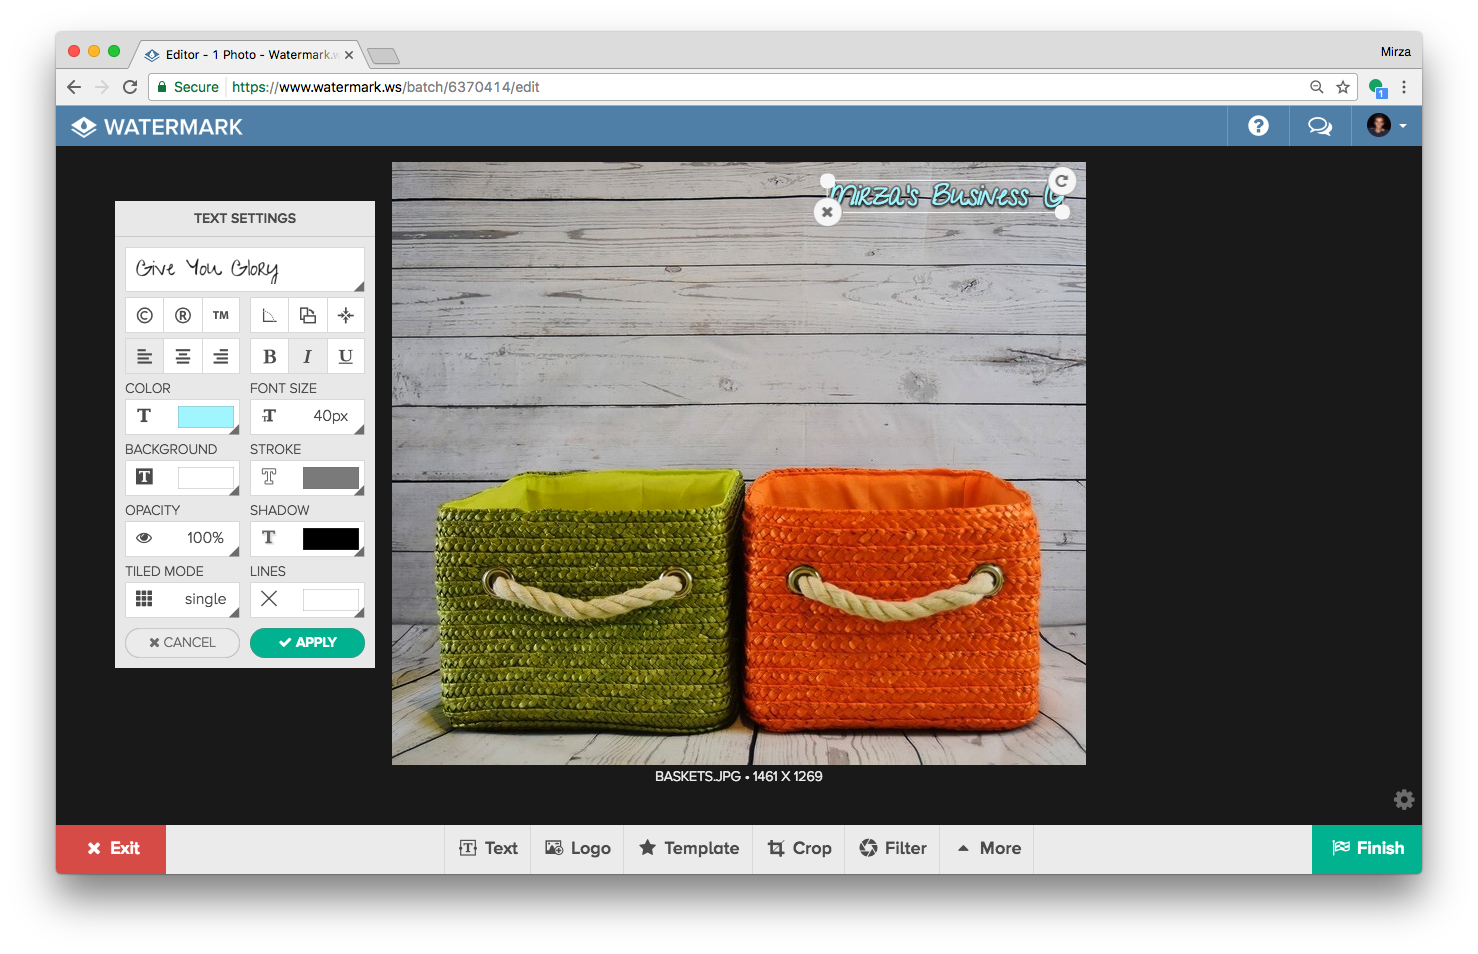
4) Position, scale and rotate
Once you feel like your watermark has been styled, it’s time to make sure the position, scale and angle of the watermark is appropriate for the photo we’re placing it on. All of these properties can be adjusted by clicking on the watermark and manipulating the options available on the watermark itself.
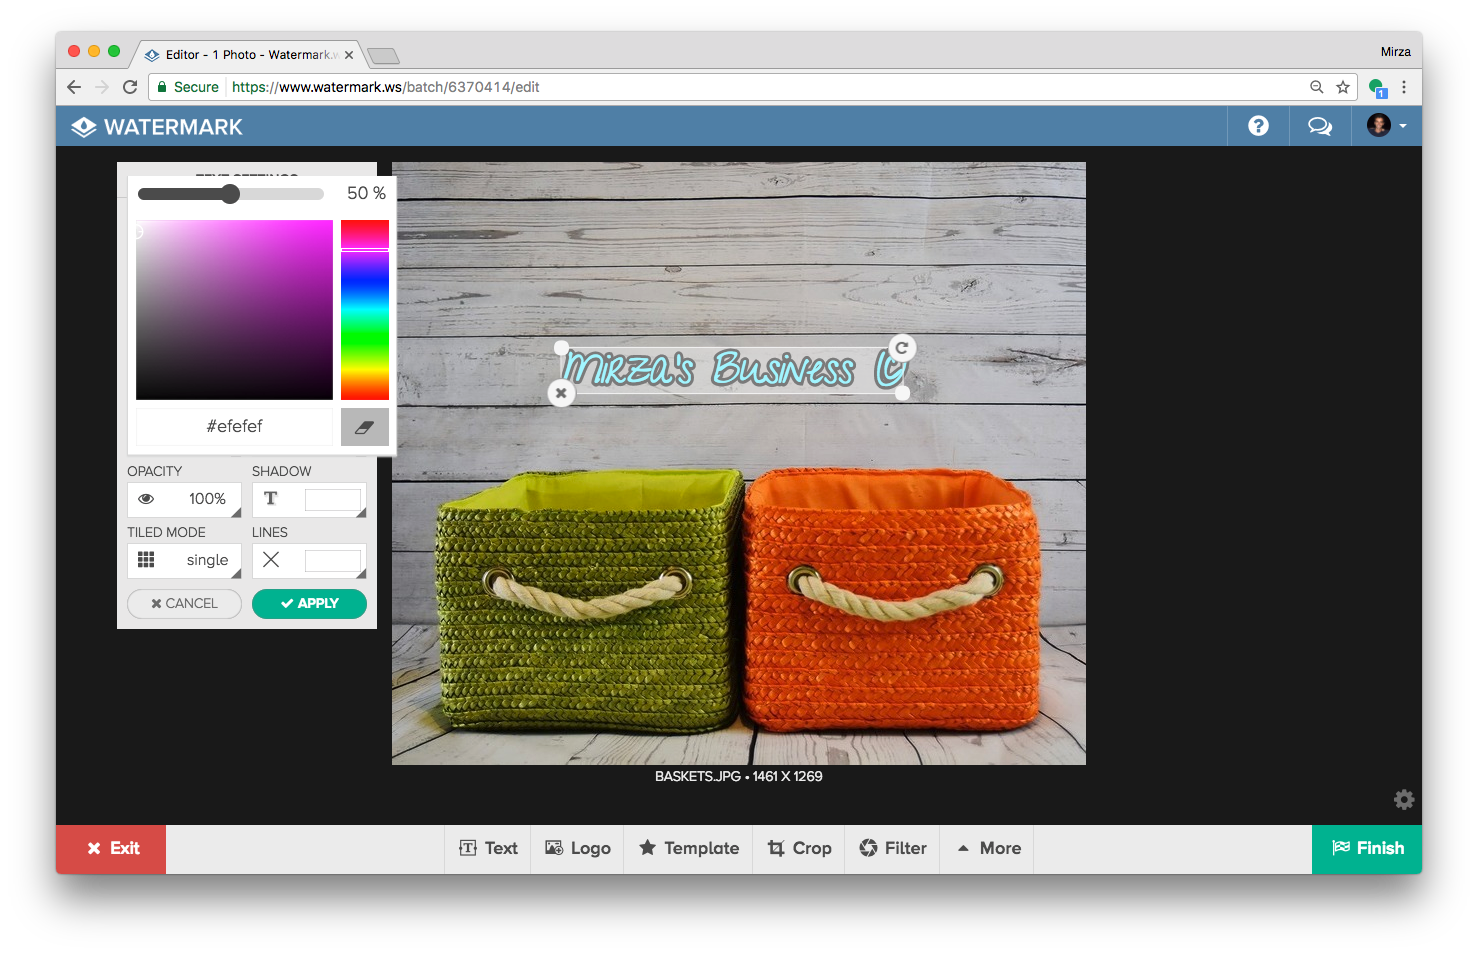
5) Perform final touches
Blend your watermark into the photo by adjusting it’s opacity. Transparent watermarks are less obtrusive but are still very effective. An opacity of 80% means that your watermark will be 20% transparent.
Congrats! You’ve created a watermark which you can now use to watermark your photos. Good luck!